Blog
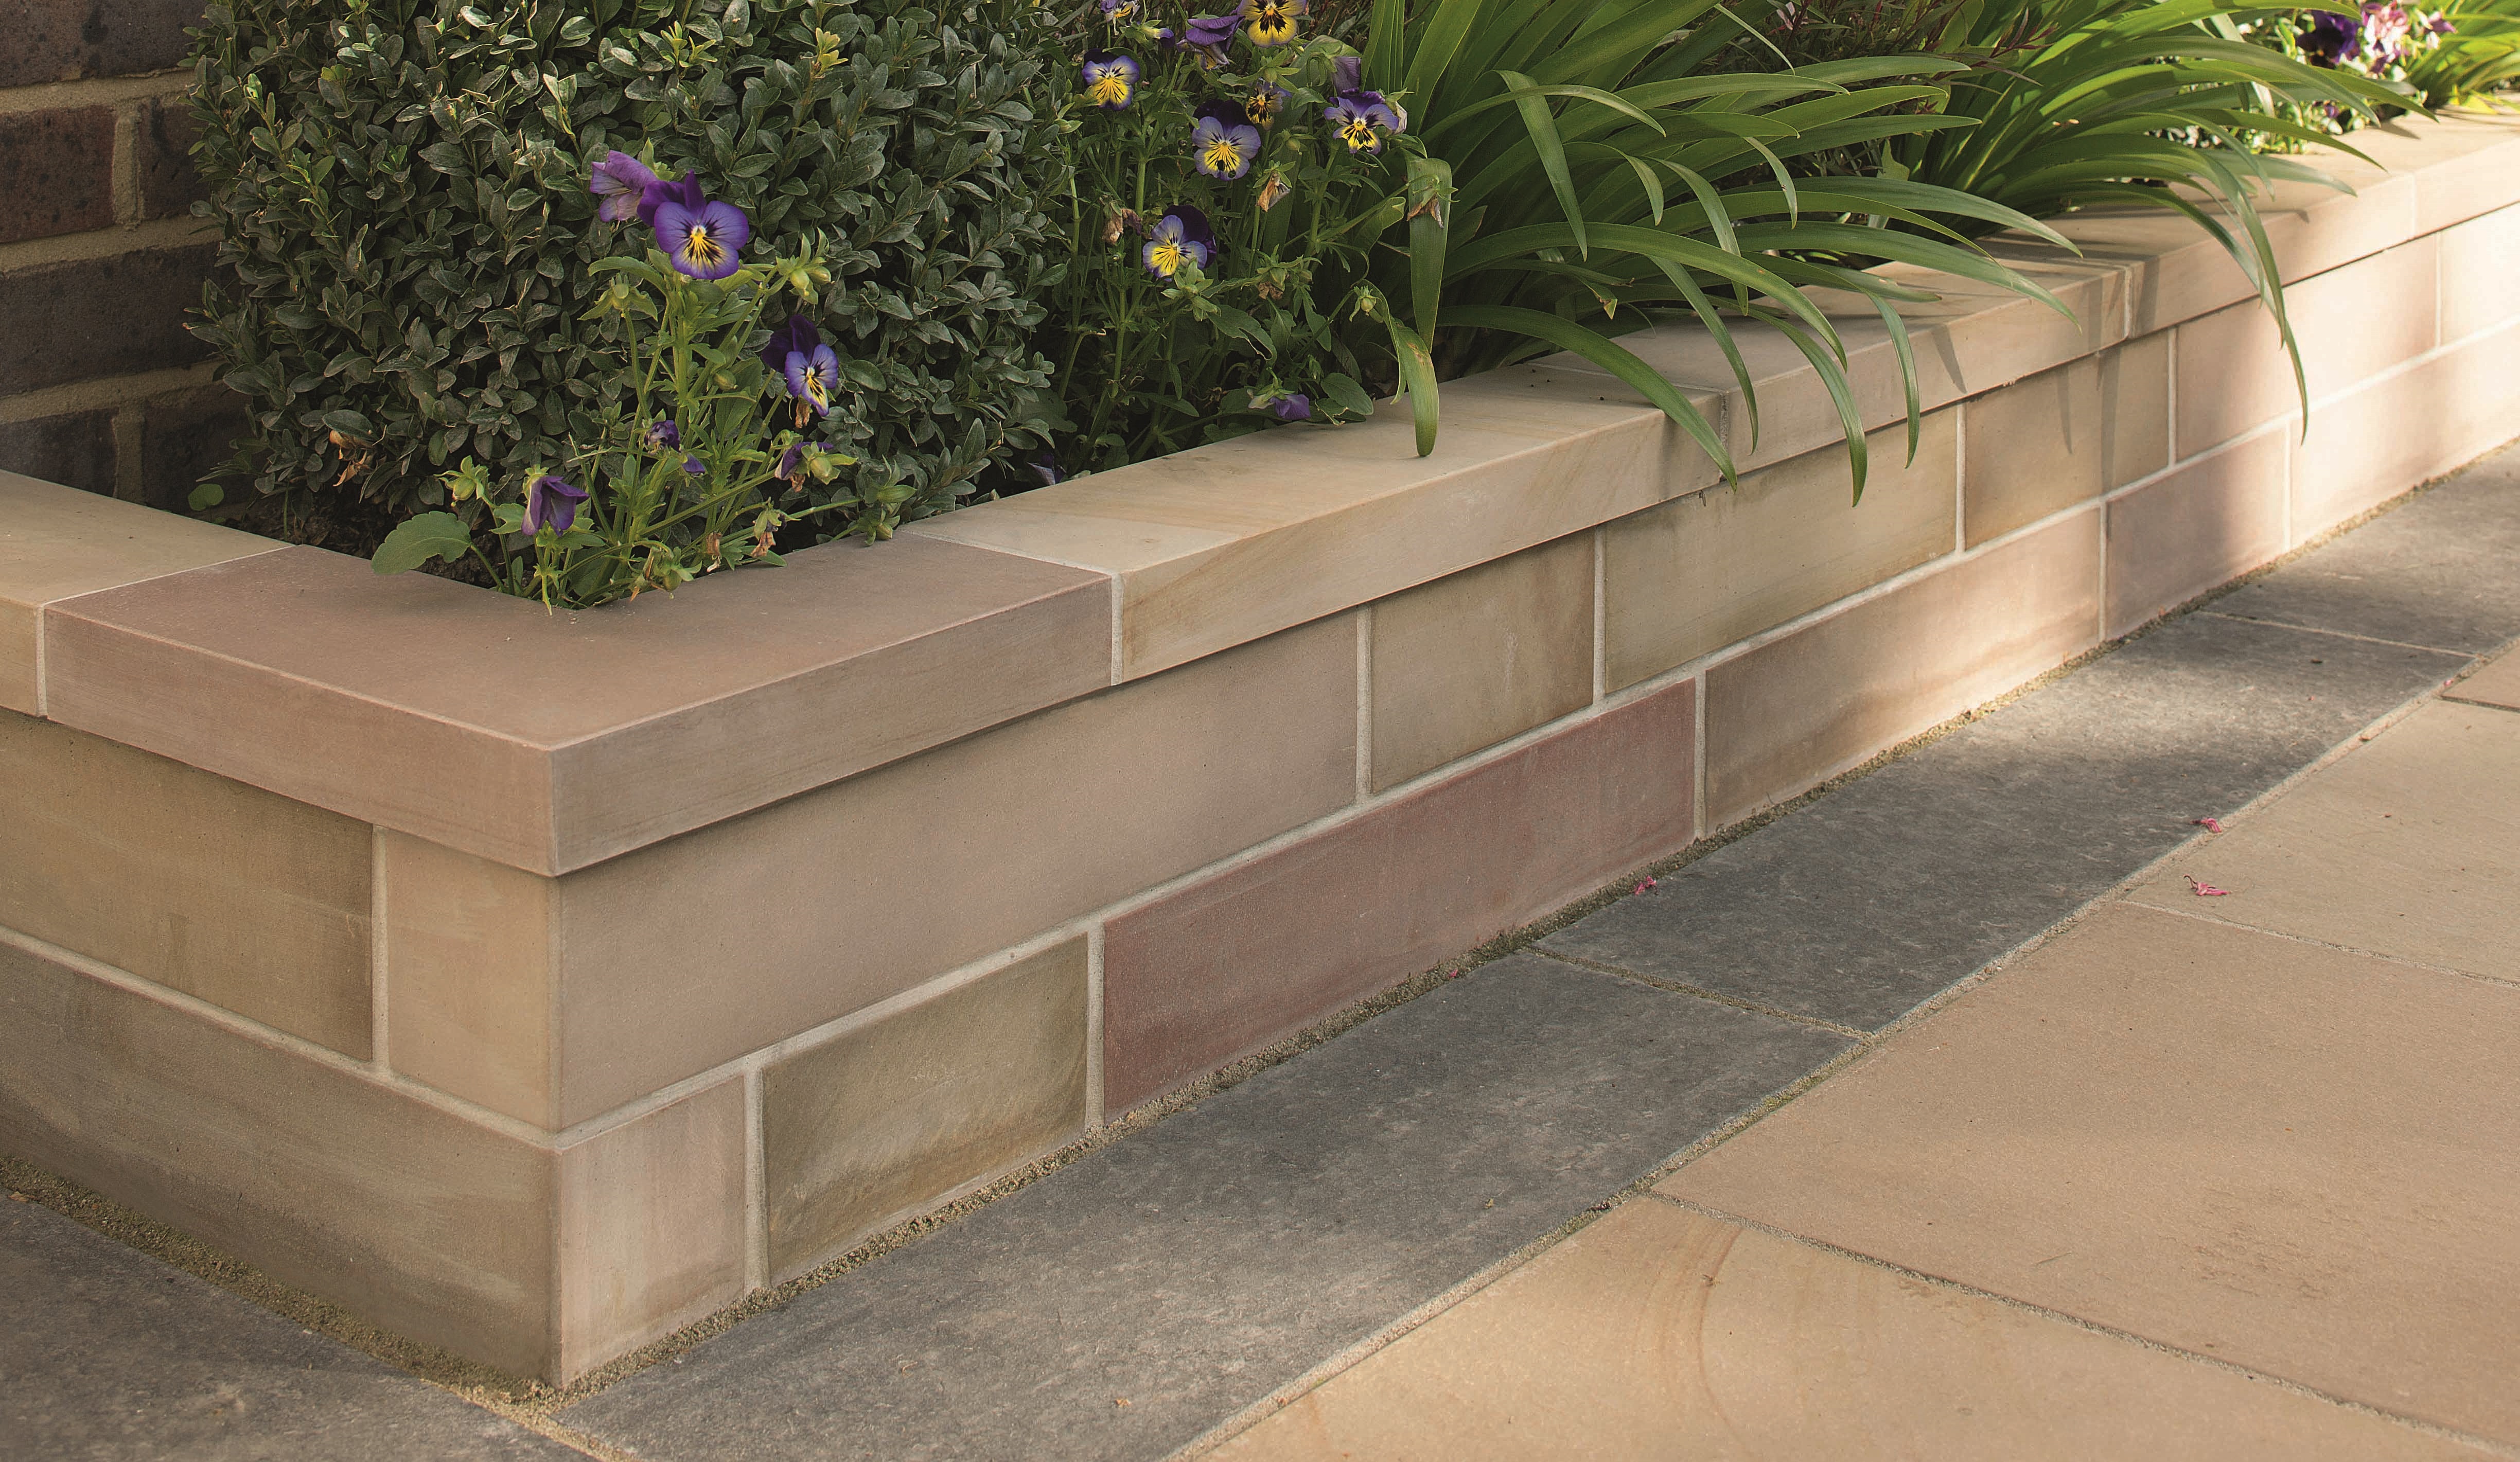
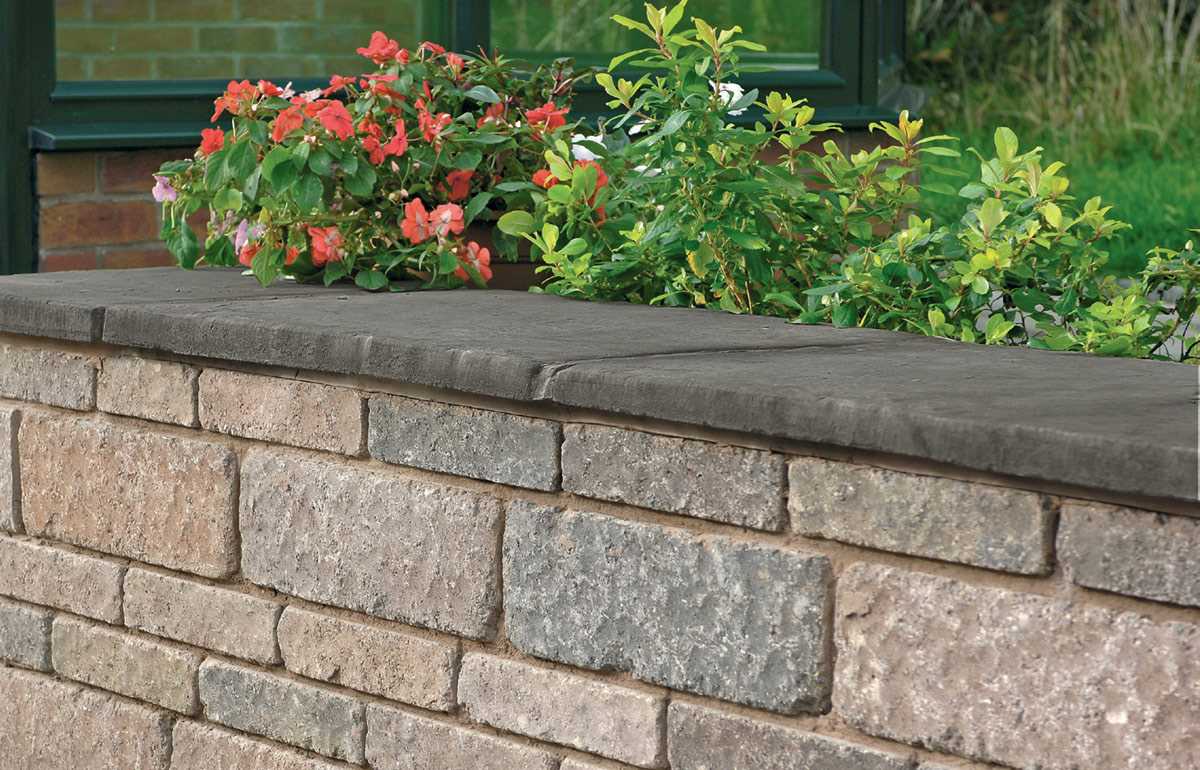
Coping stones are a stylish way to finish walls and protect them from the elements. Laying coping stones can seem daunting, especially if you've never done it before, but hiring a professional to do the work can be expensive.
So, if you're thinking of fitting coping stones to your wall, you'll be pleased to know it can be a straightforward job.
We've put together this handy guide to help you get the work done. It explains how to lay coping stones, including the tools you need and how to protect your stones from weather damage.

What tools do you need to lay coping stones?
Before you start laying coping stones, you need to make sure you have the right tools for the job. Otherwise, you risk damaging the stones or having loose coping stones.
To lay your coping stones, you'll need the following tools:
- A tape measure to measure and position the stones
- A string line to ensure the coping stones are fitted straight across the wall
- A spirit level to ensure the stones are level and properly aligned
- A rubber mallet to tap the stones into place
- A trowel to spread the mortar mix
- A brush to clean the wall surface
- Cutting equipment A cement mixer to mix the mortar, or a wheel barrow if mixing by hand
- Mortar mix
- Sealant to protect the stones once laid
You will also need the following protective gear to ensure the work can be done safely:
- Safety glasses
- Gloves
- Ear defenders (if using powered cutting equipment)
How to prepare your wall for laying coping stones
To ensure the stones can be properly laid and that the work will be a success, you should take these steps before starting work:
- You need to make sure the wall on which you want to lay coping stones is suitable and that the stones are the correct width.
- Remove plants growing in the wall and use a brush to clean the wall of any debris and loose material.
- Wipe down the wall with a damp cloth to remove any remaining debris or moisture and ensure the mortar will stick.
- Use a spirit level to check the wall for any unevenness that needs to be sorted before the coping stones are laid.
- Set up a string line along the edge of the wall where the coping stones will be placed.
Once all these preparation tasks have been completed, it's time to move on to the next step: mixing the mortar.
Mixing mortar to lay coping stones
The traditional ratio for mixing mortar for coping stones is three parts sand to one part cement.
The best way to achieve this mix is by using a cement mixer but you can also mix by hand in a wheelbarrow, gradually add some water while constantly mixing, you're looking for a thick paste-like consistency. While there is no specific amount, the ideal mortar mix is roughly four parts water to one part of the sand/cement mix.
You must also use mortar plasticiser; this will soften the mortar and make it easier to work with. Mortar Plasticiser can be purchased from most Builders Merchants and DIY Stores.
To test the mortar mix, it should hold its shape when lifted with your trowel but be workable and easy to spread. If you're using natural stone, consider light-coloured sand, as this may better match the stone's colour.
Do you need to cut your coping stones down? Follow the steps in our comprehensive guide to cutting and blocking paving slabs.
How to lay coping stones
Now that all the prep work is done, it's time to start laying and fixing the coping stones. The step-by-step guide below explains how to lay coping stones and ensure they adhere to brick walls.
Placing the first coping stone
First, you should place one coping stone at each end of the wall to set a level for the other stones.
Once you've done this, you should set your string line on the edge of the coping to ensure alignment with the other stones.
The first stone must be set accurately and adequately, setting the foundation for the rest. So make sure you take your time and get it right.
When the stone is laid, use a spirit level to ensure its level and a tape measure to make sure it has an equal overhang on each side of the wall.
Next, secure the coping stone using the mortar mix and finalise its position by tapping it into place with a rubber mallet.
You can improve adhesion between the coping and the mortar bed by applying a slurry primer to the underside of the coping stones before laying them. Additionally adding slurry primer to the wall top can also improve the bonding bridge to the mortar.
Working along the wall
After the first stone is laid, it's a case of working along the wall and ensuring a consistent gap between each stone. This guarantees uniformity and gives you space to fill the joints with mortar.
Pointing will give the wall a neat finish, increase its aesthetic appeal and protect the coping stones and joints from the weather.
Weatherproofing and sealing the stones
Always consult the manufacturer when using sealants for advice on the suitability and application of any product. Some coping stones, such as concrete copings, will need a period of time before the application of any sealant due to the potential for efflorescence.
To avoid loose stones, coat the coping stones with sealant on the tops, sides, and underside.
For maximum protection, apply two coats, as this will give the stones a robust layer and maintain their look for years to come.
How to re-secure loose coping stones
If the above recommendations are followed then the coping stones should be secure for a long period of time, however, if a unit becomes loose for any reason, then re-securing your coping stones is a simple task.
All you have to do is:
- Remove the loose coping stones
- Give them a clean, and remove the old mortar mix
- Reattach and repoint the stones using the above installation guidelines.
What are the benefits of fitting coping stones?
As well as their undeniable aesthetic appeal, there are practical benefits to having fitting coping stones on your garden wall, too, including:
- Protecting walls from weathering: Coping stones reduce the amount of weathering and water damage a wall sustains and help to prevent moisture from getting into the wall. Without coping stones, a wall's structure can be compromised and deteriorate.
- Seating areas: If you have larger coping stones fitted, they can provide additional seating without the need to dig more deckchairs out of the shed.
- Increased safety: Coping stones can help prevent individuals from falling off walls as they provide a larger barrier between the edge of a wall and the area below.

Buy coping stones and more from Marshalls
Marshalls' leading range of outdoor tiles, garden paving and walling includes high-quality coping stones and caps in various finishes and colours.
Made from the finest materials, including natural stone copings, Marshalls' stone selection is designed to help you create an aesthetically appealing and cohesive outdoor space.
We also offer various jointing compounds, such as weatherpoint jointing and paving primer, to help fit and secure coping stones.
Explore Marshalls' garden walling blocks, bricks and stones.
Or, for more garden ideas, explore our inspiration gallery. Here, you'll find finished work so you can see what our coping stones and flagging look like in situ.
Struggling to visualise how your garden could look? No problem. Use our Outdoor Reality App to see what suits your garden best. This app uses augmented reality to measure your garden, too, so there's no need to worry about what you'll do with excess stone.


