Blog
Porcelain is one of the most popular materials for garden patios, pathways and driveways. For good reason, though, as its elegant appearance and impressive durability means it excels in both form and function.
Porcelain pavers can transform the entire look and feel of an outdoor space, and their proven ability to withstand high levels of usage makes them a worthwhile investment for homes new and old.
But, as the popularity of porcelain paving grows, more and more people want advice on how to go about installing them properly so as to avoid problems further down the line.
Here at Marshalls, our garden design experts are on hand to help. In this guide, you’ll learn important installation tips and tricks to ensure that you have the knowhow needed to carry out the job to a high standard. Whether you already have a good understanding of DIY or you’re a complete beginner, read this step-by-step guide before getting started.

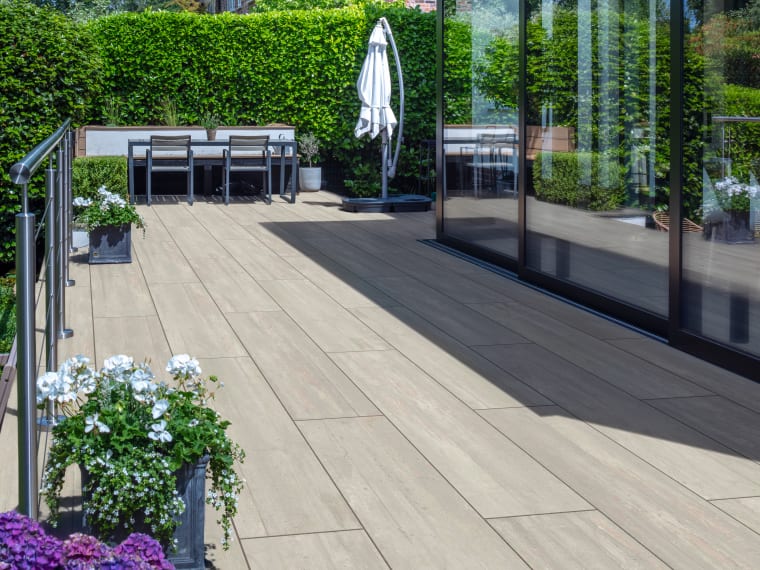
Marshalls SYMPHONY® Porcelain Plank Paving
What tools are needed to lay porcelain paving slabs?
When it comes to laying porcelain slabs on your patio, pathway or driveway, you’re going to need some specialist tools in order to do the job properly. The tools required to lay porcelain paving slabs are as follows:
- Mortar
- Paving primer
- Jointing compound
- A shovel
- Pointing trowel
- Measuring tape
- Rubber mallet
- Spirit level
- String line
- Hard-bristle brush
These materials and tools are available from most high-street hardware stores, so doing the job yourself is definitely possible. But, if you’re lacking confidence or are unsure of how to use the items listed above, it might be worth considering getting help from a professional installer who will have the right experience and equipment.
How to lay porcelain slabs - a step-by-step guide
If you do decide to lay your own porcelain slabs, there are a number of steps that you’ll need to follow. The instructions detailed below will help you lay porcelain paving slabs correctly, so be sure to take time to read through them all in full before getting started.
Step 1 - prepare your base
The first step is to prepare your base. This is crucial and can’t be skipped, as it allows your porcelain paving slabs to be held securely for years to come. Without a proper base, your entire patio of paved area could become loose and unsafe.
Start by measuring out your intended location with wooden pegs. Remove any vegetation, roots or topsoil within the marked-out area to a depth of at least 200mm.
Set your gradient to a 1 in 80 fall using a spirit level. This will allow your paving to drain effectively into drainage points.
Rake the surface and compact the whole area with a roller.
Step 2 - lay a sub-base
You should then lay a sub-base to provide a firm and level foundation. A solid base will minimise the risk of movement beneath the completed surface which is one of the most common causes of cracking.
Typically, a sub-base should be 100mm if you are laying a patio and 200mm for driveways. However, you must consider the frequency and types of loads, as well as the ground conditions. As a general rule, any surfaces that are required to accept heavier loads should have deeper sub-bases.
Step 3 - lay your full base
A full bed of workable mix mortar with a 4:1 sharp sand/cement ratio should be laid and worked with while semi-wet. Depending on the product recommendations, it would be best to aim for a thickness between 15mm and 30mm. You must take care to ensure the base is level at this stage using a spirit level.
TIP: Rather than laying your mortar all at once, do this one slab at a time. This way, the mortar won’t dry before you get to it and will allow you to do the job at your own pace.
Step 4 - prime your slabs
Because porcelain paving is non-porous, an adhesive is required to make sure that each porcelain tile attaches to the base firmly. Marshalls Paving Primer is an excellent option to ensure the flag bonds to the mortar bed.
Using this couldn’t be easier, simply brush the reverse side of the paving slab with the primer before placing primer-side down onto the mortar bed.
TIP: Again, it’s best to do this step one slab at a time to prevent the primer from drying out and losing its adhesive properties.
Step 5 - lay the slabs in position
You will now be able to place the primed porcelain pavers in position.
Using your rubber hammer, you can carefully tap each porcelain tile into position and ensure that they are firmly bedded into the mortar base. Make sure the entirety of the paver is in contact with the mortar - this will allow a strong bond and a long life span.
It’s important to use a rubber hammer for this step rather than a metal hammer as this could result in the slabs cracking or chipping if struck with too much force.
Step 6 - use spacers to ensure uniformity
You will be able to use spacers between the porcelain pavers to help you keep a uniform distance between each one. A gap of around 5mm for joints should be left when doing this.
Step 7 - check the levels
Once all the slabs are in position, you should ensure that each porcelain tile is level both with the ground beneath and one another. Slabs at different levels could become a trip hazard so it’s important to do this step properly.
After you have checked this, you can clean off any residual primer on the surface of the pavers.
Step 8 - add jointing compound
Now it’s time to fill the 5mm gaps between each porcelain slab with the jointing compound.. This creates a smooth surface, helps to keep the slabs firmly bedded in place and prevents moss and weeds from growing in-between the pavers over time. Once this is done, brush any excess away.
Step 9 - let it dry
Leave the area to dry for at least 24 hours with no one walking on the newly-laid slabs. If wet weather is forecasted, you’ll need to protect the area with tarpaulin or other waterproof material to prevent any rainwater from seeping through the joins and into the mortar beneath.
Cutting porcelain slabs
Sometimes, it will be necessary to cut a porcelain slab to ensure your garden has the perfect finish. Cutting porcelain is different from other materials, so here are some of our top tips.
- Always wear the proper safety equipment when cutting materials with power tools. You might also need a dust suppression system to minimise airborne particles.
- Make sure you are using the right blade. You should use a diamond blade to cut a porcelain paving slab accurately.
- Precision is critical to get a neat finish to your garden. Using a bench saw makes this a lot more manageable.
- Carefully marking out the area you want to be cut and going slow will help with intricate cuts.
- The sawn edges should be sanded down using a special diamond polishing pad to maintain a high-quality finish.
If cutting porcelain paving slabs is something you don’t feel comfortable doing on your own then don’t worry, there are hundreds of professional installers working across the UK who can lend a hand. Browse our directory of accredited tradespersons to find one local to you.
The benefits of porcelain paving
Porcelain is an excellent choice of garden paving material. Its attractive, premium finish really does add a certain level of elegance to outdoor spaces of all types making it ideal for anyone looking to add value to their home. While porcelain is more typical in a contemporary setting, the wide range of styles and textures available means you can use it for any type of home or garden.
Another reason for porcelain’s popularity is its durability and resistance to erosion. There’s no getting around the fact that installing a new patio or driveway can be costly, so ensuring you get a long-lasting material is essential. Porcelain is proven to fare well in high-traffic areas and areas that need to withstand heavy loads such as driveways.
Because porcelain is non-porous, water damage isn't a concern, and you won't have to worry about protecting and maintaining them every year. Porcelain paving slabs are typically stain and frost-resistant, too, meaning it’s weatherproof and safe to use in all seasons.

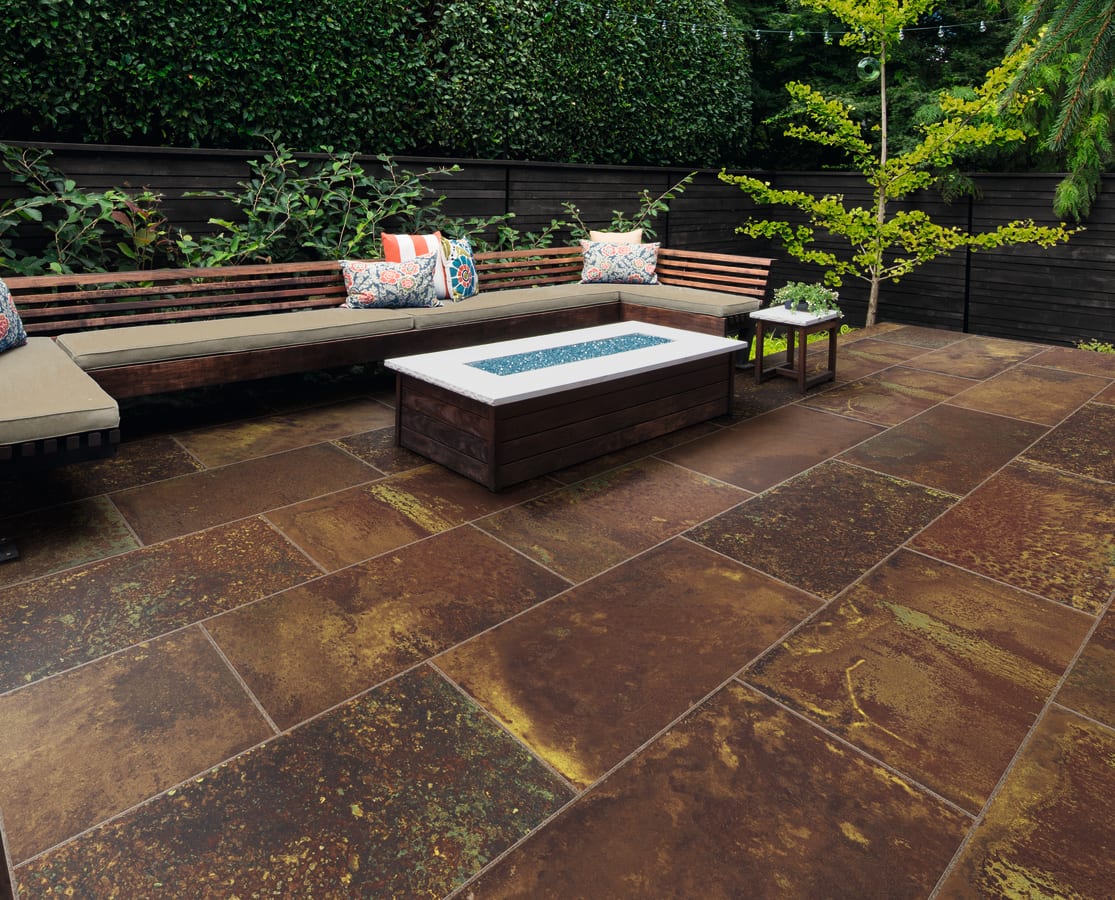
Marshalls SYMPHONY® Elements Corten
Explore Marshalls’ range of porcelain paving slabs
At Marshalls, the creation of outdoor spaces that delight in both form and function is our team’s bread and butter. Your satisfaction is our top priority, and our garden design experts are on hand to support you every step of the way.
We recognise that your home is an extension of your identity, so strive to provide the best possible selection of colours, sizes and finishes to give you the freedom to create your perfect outdoor living space. Browse our full range of porcelain paving solutions to find the one that’s right for you.
FAQs
Does porcelain get slippery when it is wet?
No, despite looking smooth and sleek, porcelain slabs are slip-resistant as long as they are maintained properly.
In the UK, we can see a range of different weather over the course of one day, so ensuring our outdoor areas can handle this and are safe to walk on is essential.
Are porcelain tiles difficult to keep clean?
Porcelain tiles are easy to keep clean. Not only are porcelain tiles hard-wearing and durable, but they are also low-maintenance.
Thanks to their non-porous nature, they don't tend to stain, so soapy water and a jet wash will typically keep them looking fresh and clean for long periods.
Why should I choose porcelain over a natural stone patio?
The material you choose for garden paving, driveways, and garden paths is entirely up to you. Many people choose porcelain over a natural stone patio because of its durability.
A porcelain patio provides the customer with a hard-wearing, stain-proof patio that will last a long time and look great for many years.


