Blog
So, your new patio has been built and it’s looking great. You’re all ready to get out there with a cold drink to enjoy the view of your garden from this new vantage point. But there’s one job left to do – pointing the patio slabs. This is essential if you want to give the patio longevity and properly protect it from the elements. Although you may think pointing your own patio is a challenging manual job best left to the professionals, in fact it’s a quick and simple task that you’re more than capable of tackling yourself. Don’t believe us? Watch this step-by-step guide video and take a look at the easy-to-follow directions below.
Step 1: Choose your jointing material
Before you get down to business, it’s best to make sure that the jointing material you use can withstand the test of time.
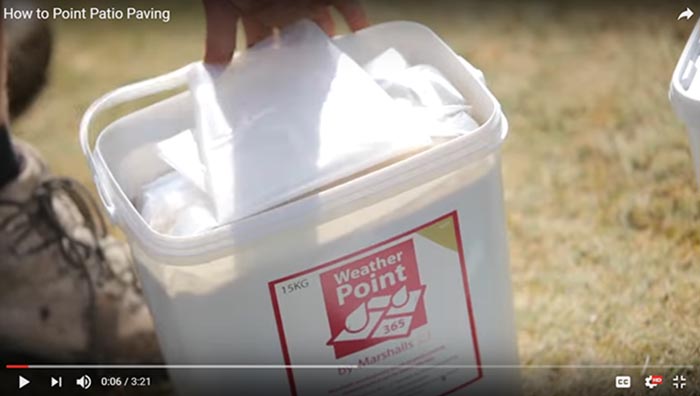
Marshalls’ Weatherpoint 365 is a good choice because it can be laid in rain or shine.
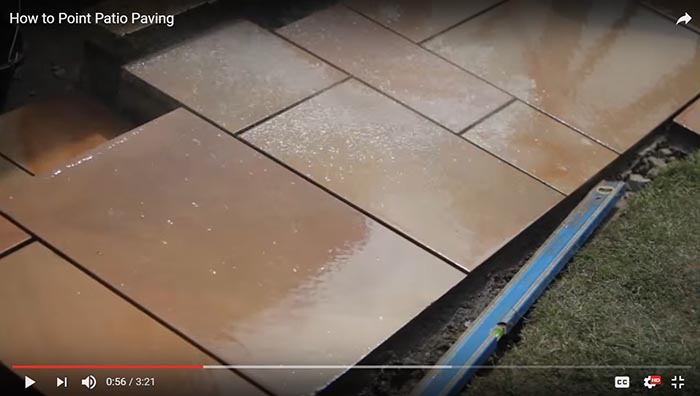
Step 2: Thoroughly saturate your patio
It’s important to soak the full area you’ll point using plenty of water.
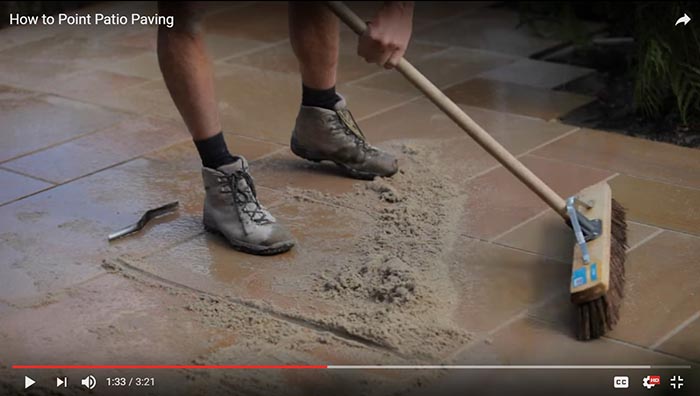
Step 3: Spread the jointing compound across the patio
Pour the product onto the patio. Using a sturdy yard brush, sweep the jointing compound across the patio, encouraging it to fill the gaps between your slabs.
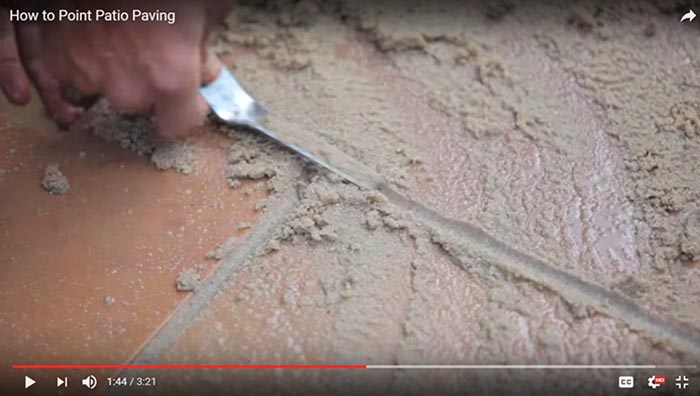
Step 4: Strike the jointing compound into the joints
Once the gaps between slabs are full of mortar, sweep the excess product to one side and begin to ‘strike in’ the jointing compound. To do this, use a jointing iron to strike off and compact the joints.
Step 5: Tidy up and wait
Now that you’ve finished the job itself, it’s time to sweep off the excess jointing compound and wait for it to harden. However, you should be sure to properly collect and store the excess product, as Weatherproof 365 can be used again on future projects. Just return it to the tub and cover it with water.
It’s always rewarding to complete a home improvement job yourself. With the right tools and a little bit of knowhow, you can save yourself the cost of getting a tradesman in, not to mention gaining the satisfaction of learning a handy new skill.


